
If you’ve been putting off the pursuit of homemade sourdough, focaccia, ciabatta, baguettes, or even simple sandwich bread because you’re unsure how to effectively use yeast, you’re not alone! Many home bakers are hesitant to make their own bread because using yeast can seem daunting. However, when you follow these yeast tips, you’ll be well on your way to a delicious slice of homemade bread in no time!

Use the Right Water Temperature
A common mistake in home baking is using water that is either too hot or too cold to properly activate and bloom the yeast. Water that is too hot will scorch and kill the yeast while water that is too cold doesn’t allow the yeast to dissolve and activate. The ideal temperature for blooming yeast is 100°F.
Know Your Yeast Types
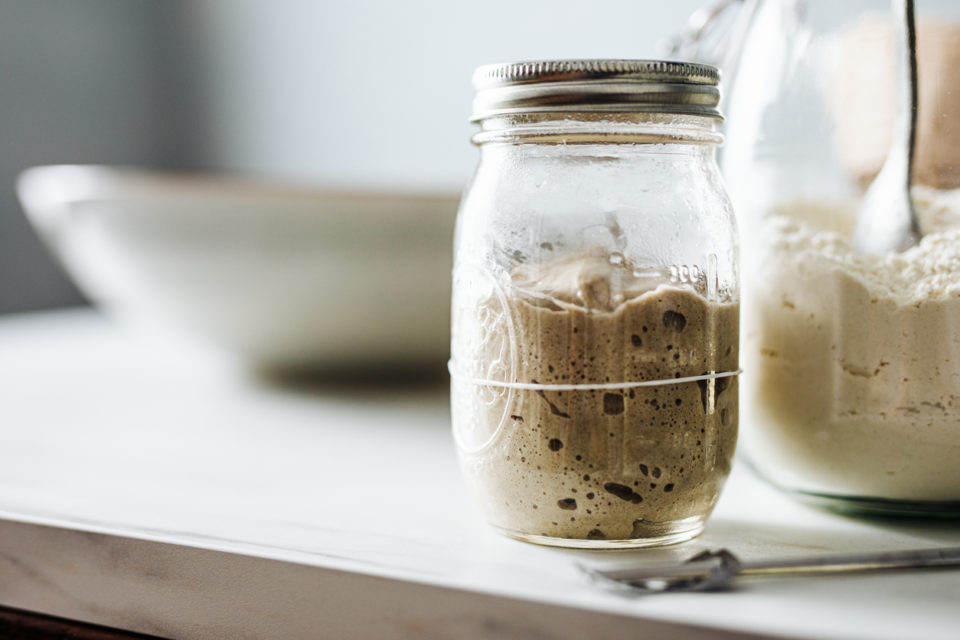
There are four common yeast types that you’ll see in the grocery store and hear about in bread recipes: active dry, instant/rapid rise, wild, and nutritional. Active dry yeast is the most commonly found yeast and needs to be bloomed before it is added to your recipe. Instant/rapid rise yeast can be added directly into your recipe without any blooming and is more common in quick or sweet bread recipes. Wild yeast is what you harness to make a sourdough starter and sourdough bread – it is the yeast that naturally occurs all around us. Finally, nutritional yeast is deactivated yeast and therefore not really for baking at all, and instead adds a nutty, umami, almost cheesy flavor to dishes. Try sprinkling a bit of nutritional yeast on your freshly baked bread with butter!
Sugar vs. Salt vs. Starches
While yeast feeds on sugar it is deactivated by salt, so it’s important that you only bloom your yeast with sugar and wait until you’ve mixed the yeast into your flour a bit to add any salt. Though yeast feeds on sugar, you don’t necessarily need sugar to activate or bloom yeast, so it’s OK if a bread recipe does not call for any sugar. Once your dough is mixed, the yeast will feed on the starches and sugars in the dough and let out CO2, which causes your bread to rise – that’s why proofing is so important!
You might also like: Start Your Adventure In A Honda Passport
Other Temperature Considerations
Yeast feeds, reproduces, and expires CO2 best when it can rise in a warm place that is about 70°F – 80°F. If your home is too cold, put the dough inside the oven with the light on or turn the oven on to its lowest temperature for just a couple of minutes before turning it off and letting the dough proof in there. If your home is too warm, put the dough in the oven with the light off and without preheating it. Finally, the yeast goes dormant at 50°F, so you’ll get a longer shelf life from your yeast if you store it in the refrigerator or freezer.
Happy bread baking!
Disclaimer: The stock image is being used for illustrative purposes only, and it is not a direct representation of the business, recipe, or activity listed. Any person depicted in the stock image is a model.